How to Publish app to google play
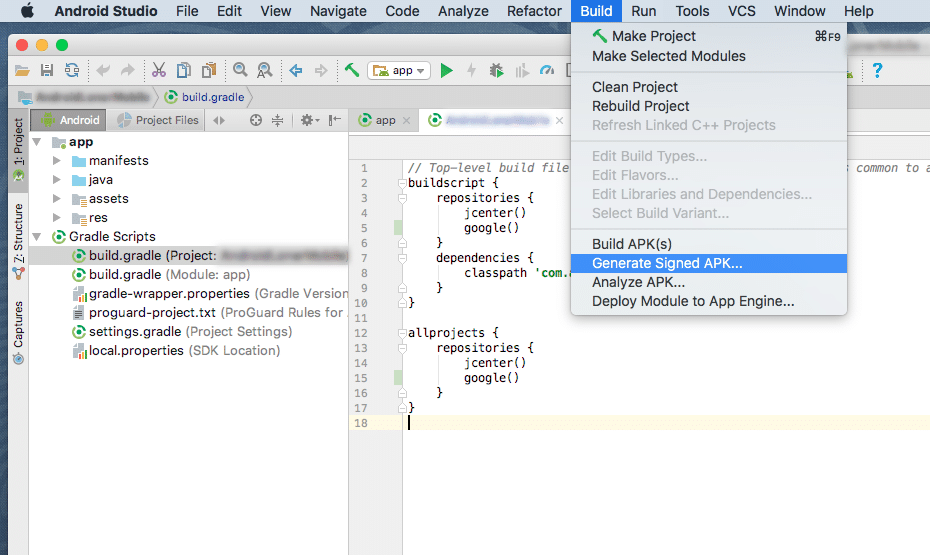
Have you seen new updates in Google Play Store for uploading your app? Nothing to worry! This blog gives insight on changes in the uploading process and publishing your Android app to the Play Store. I will be driving through the detailed steps that you would need for uploading the latest version of your app.Generate a signed .apk file from Android Studio
I’m using latest Android Studio 3.1 & build gradle 3.1.1. I would recommend using the latest version of Android Studio.
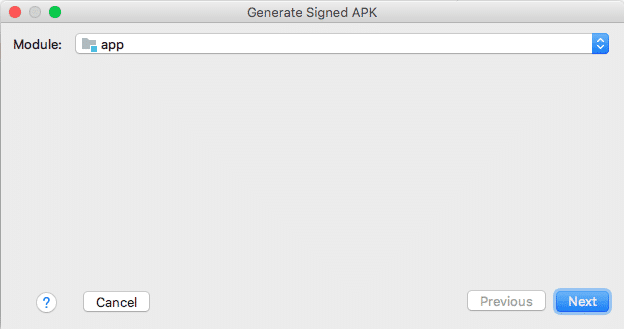
Click Next
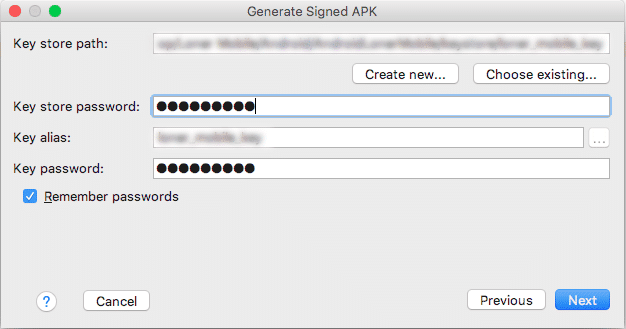
Enter your key store password which is mentioned in your project gradle file. Click Next
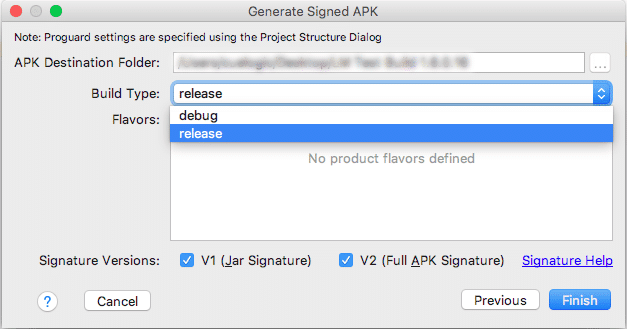
Important step Choose build type as ‘release’ & select both signature versions V1 & V2. If your app is not signed with these signatures then while uploading a .apk file, it will give you an error. If you are unable to select the V1 & V2 checkboxes then you need to update your Android Studio and build gradle. After this step, it will generate a signed .apk file which is good to go to Play Store.
- Sign into Google play console using your Google developer account
- Select your existing application
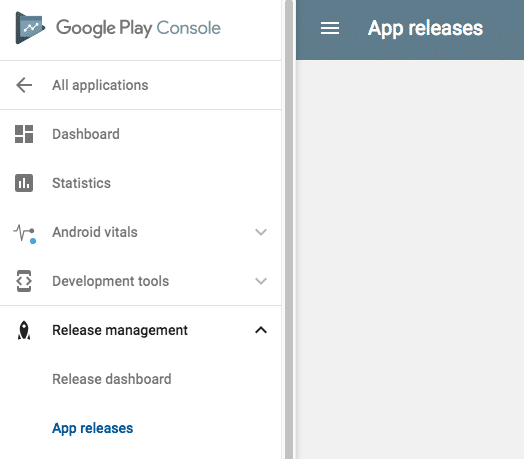
- Click on ‘Release Management’ > ‘App Releases’ from the left side menu
- Here you can see all of your app releases based on the environment like Production, Beta & Alpha. As per your need, you can go to the respective environment to upload your Android build.
Click on ‘Manage Production’
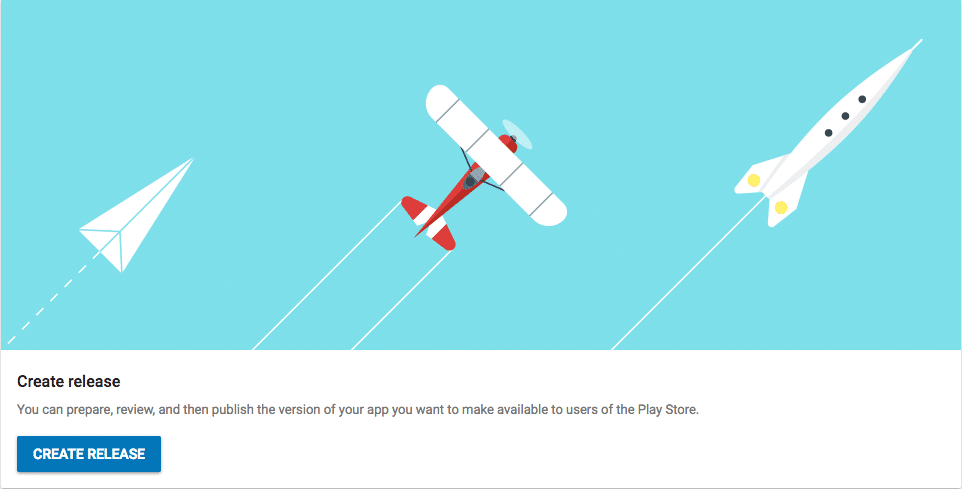
- This will display your existing app and its details. Click ‘Create Release’
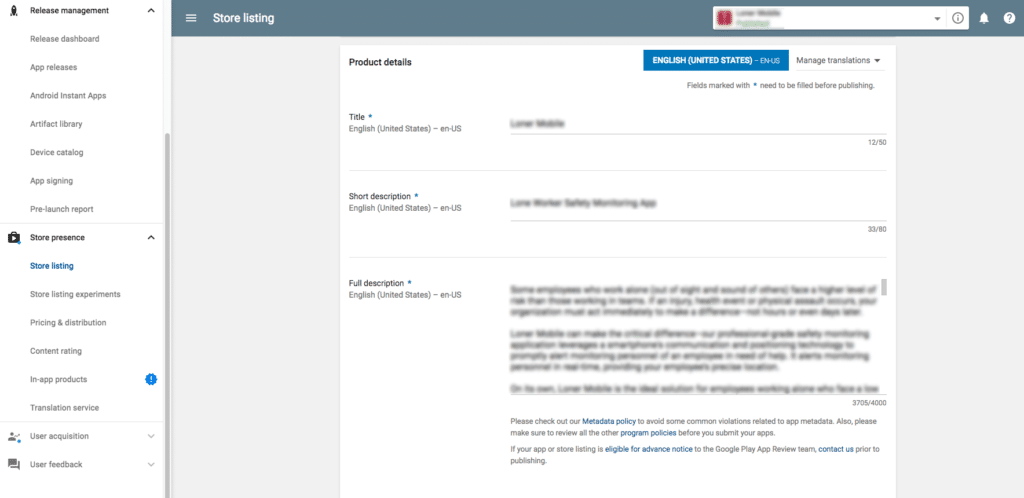
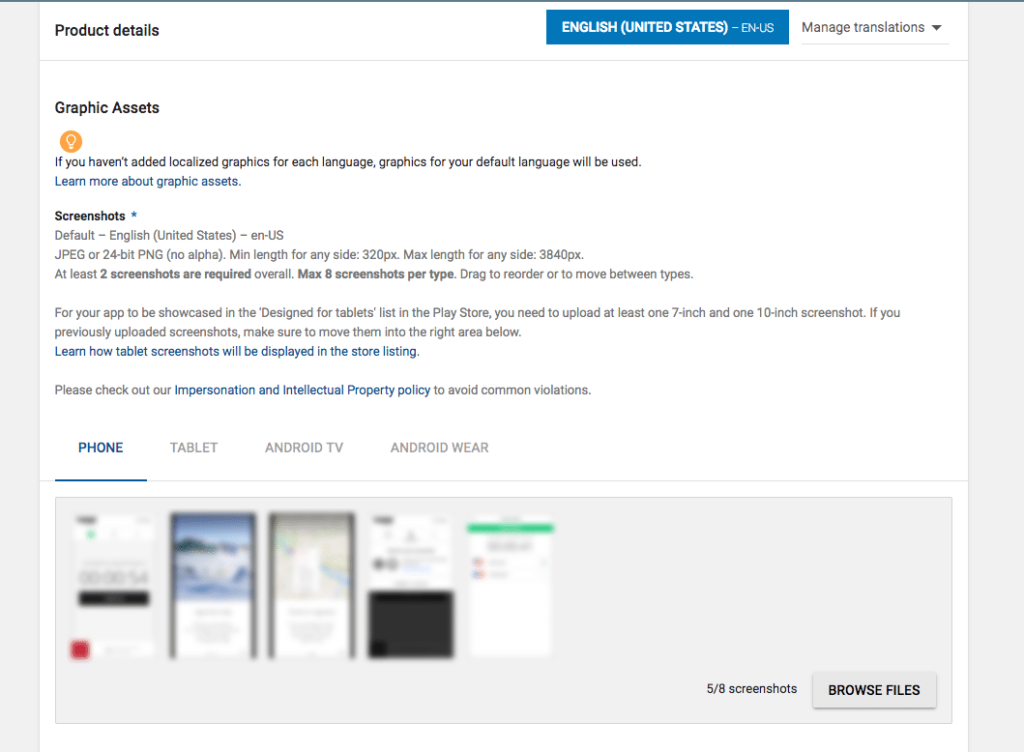
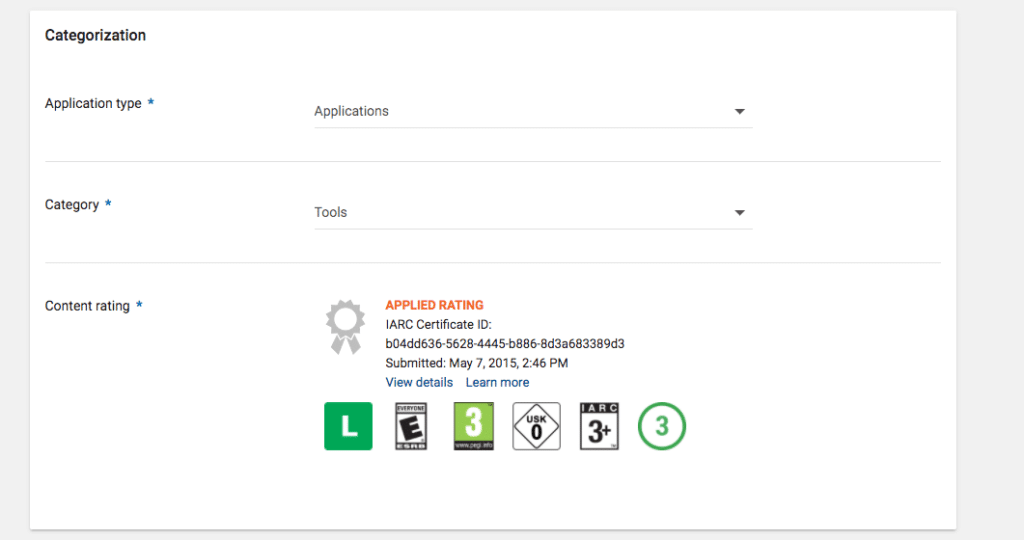
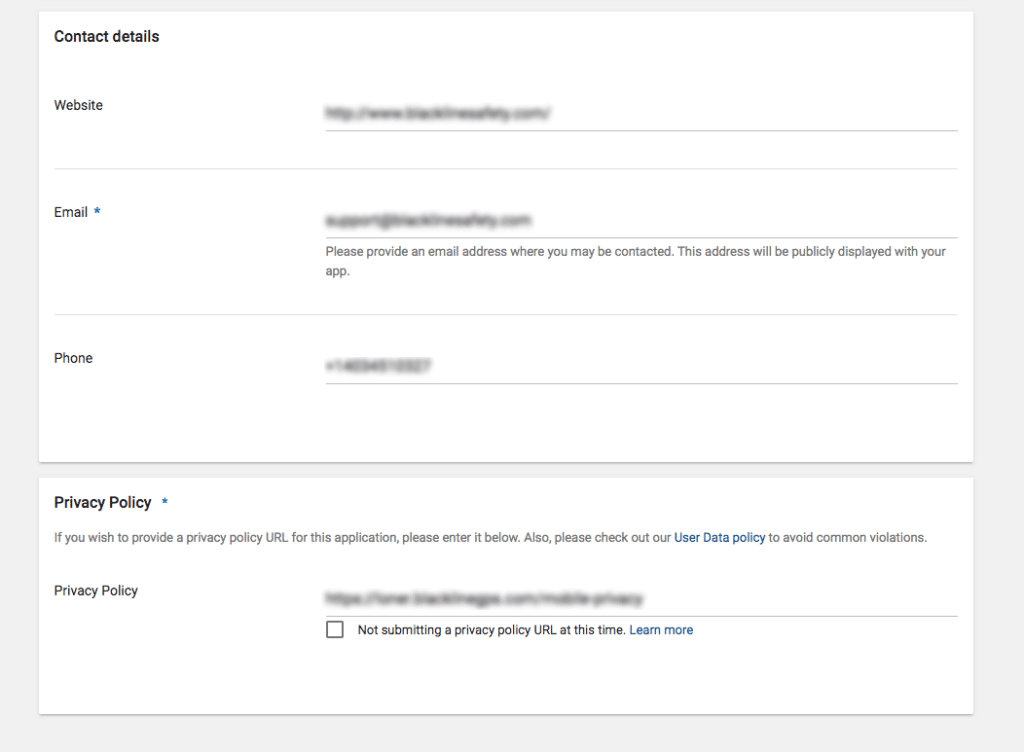
- If you are doing app release for the first time then you need to add the app’s description, app icons etc details about your app. You can navigate to ‘Store presence’ from the left side menu and then to Store listing to update your app information. This looks like below:
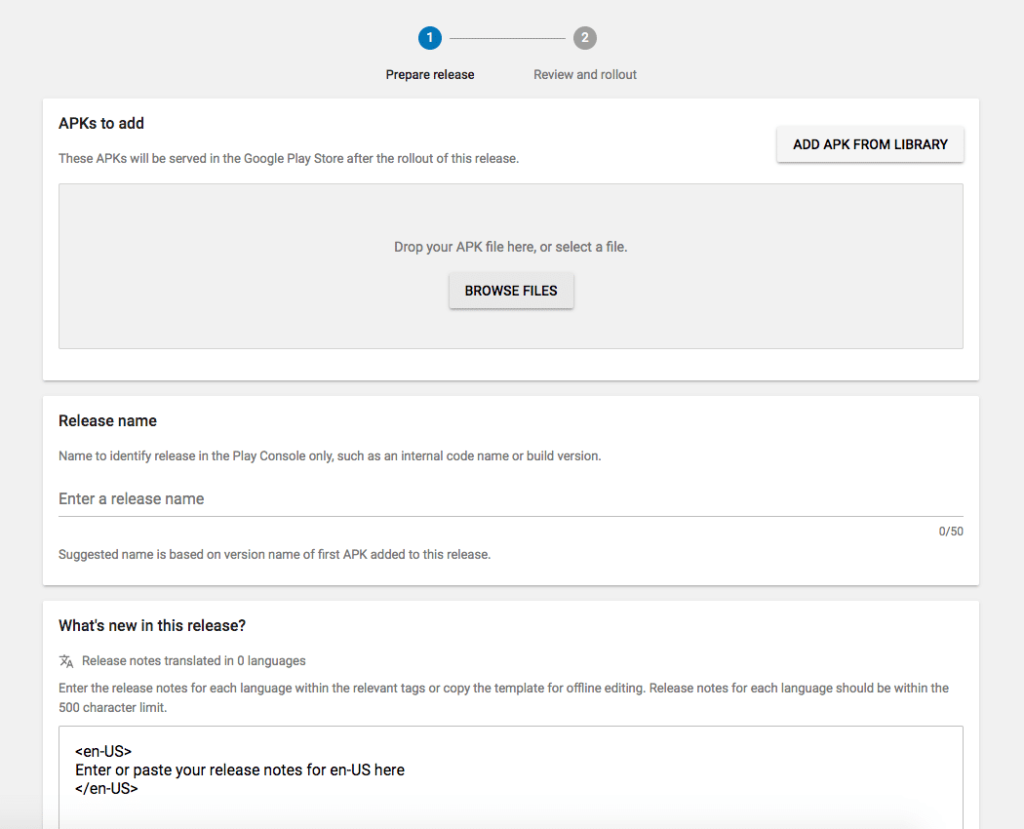
- Now you will need to upload your signed .apk file
Browse your .apk file, it will get uploaded & it will display below information
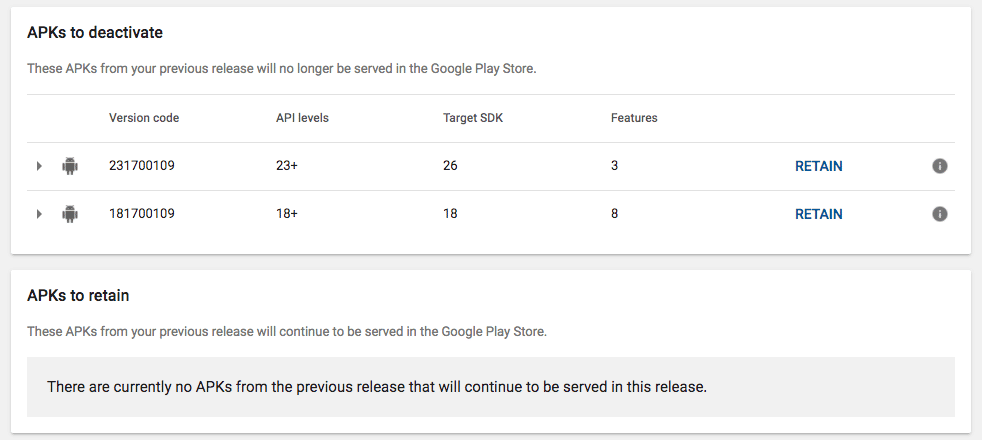
This gives you details about your app version code, Google API levels etc mentioned in AndroidManifest.xml file. This defines support for minimum Android OS version for your app. The version compatibility depends upon the Google API version that you are using in your project. For example, if you are using Google API 18 then that means your app will be available to download on Android devices which has Android OS version 4.3 & above. - Retain your existing builds to have rollback compatibility
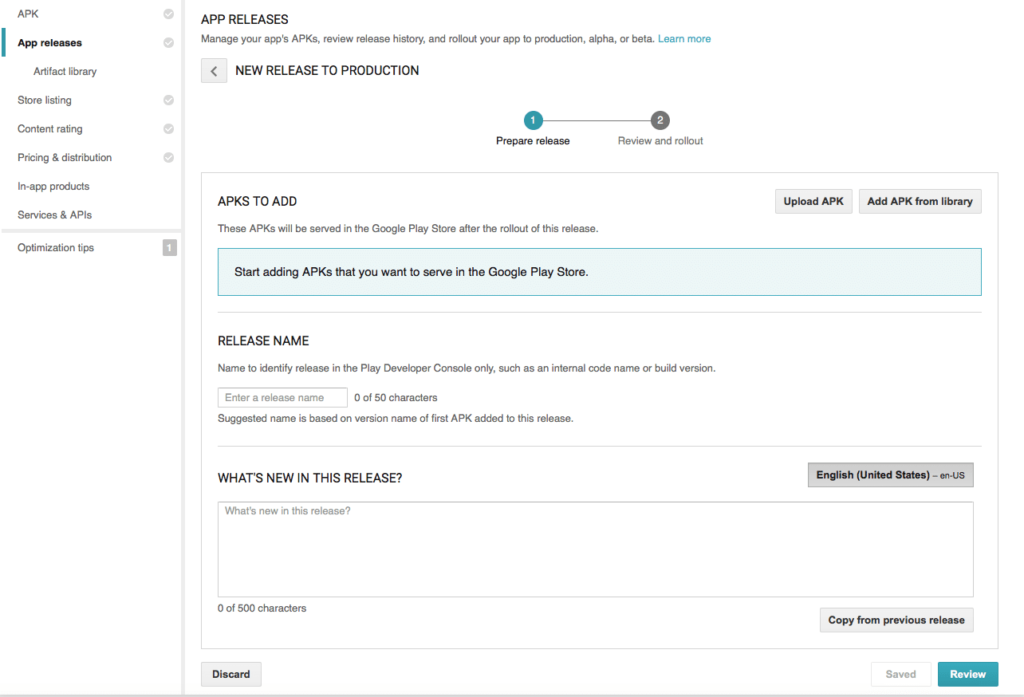
Once you upload your latest build, it will display existing APKs to deactivate. If you want to retain your existing build then you need to choose ‘RETAIN’ option. This will give you option to rollback if something goes wrong with your latest build. - Enter Release Name and What’s new in this release
- Once all details are filled, click ‘Review’
- This will open a screen where it will ask you to check all details (if you need any edits). If everything is good then click ‘Review & Rollout’
- You can also view the device compatibility of your app and choose different options
How much time does it take to have your app live on play store?
Generally, it won’t take much of time while you are giving an update of your existing app. The Google app review is an automatic process where it runs your app build on different OS version with different devices. You will also get an automatic test report from Google if you are subscribed to email notifications. This review process takes around 1 hour time. If you are publishing your app for the first time then it takes around 3-4 hours before users can view your app on play store.
Pre-launch report email for Google

Notification email when your app is live on Play Store
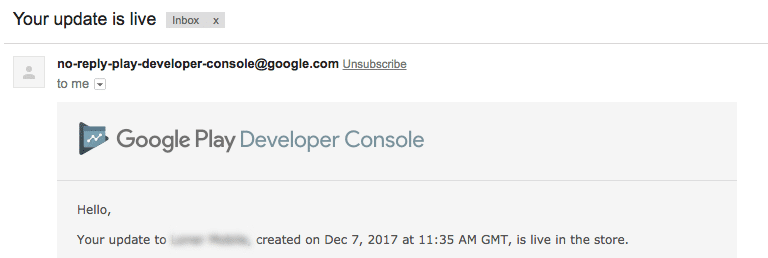
Also read: How to create and configure Android Build Variants.
This is it! Your Android app will be live on play store. Hope you got some pointers on the publishing app process, let me know if you need any further assistance on this topic. You can shoot an email to me on devendra.jadhav@34.200.212.66
Thank you.Must Reads:
[wcp-carousel id=”10008″]
